Troubleshooting: 12 Methods to Fix a Non-Functioning iPhone Flashlight

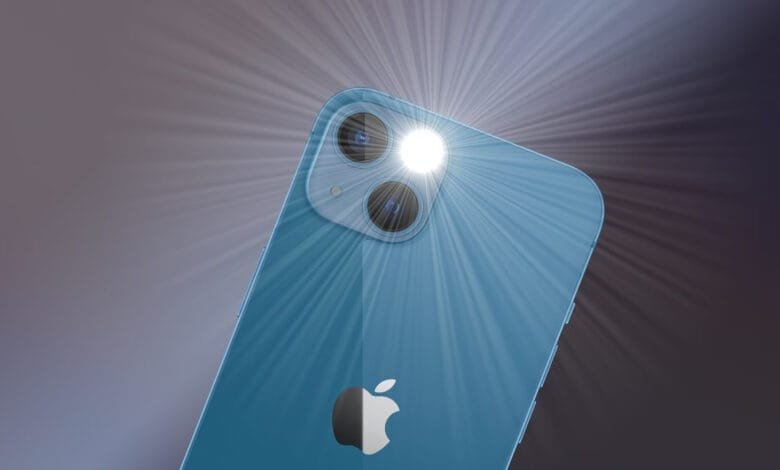
Having a flashlight on your iPhone can be incredibly useful in various situations, whether you’re trying to find your way in the dark or searching for something in a dimly lit area. However, it can be frustrating when your iPhone flashlight suddenly stops working. In this article, we will explore 12 methods to fix a non-functioning iPhone flashlight, helping you get it back up and running in no time.
1. Check for Software Updates
One of the first steps to troubleshoot a non-functioning iPhone flashlight is to ensure that your device is running the latest software version. Software updates often include bug fixes and improvements that can resolve issues with various features, including the flashlight. To check for updates, go to Settings > General > Software Update and follow the prompts to install any available updates.
2. Restart Your iPhone
Restarting your iPhone can help resolve minor software glitches that may be causing the flashlight to malfunction. To restart your iPhone, press and hold the power button until the “slide to power off” option appears. Slide the power icon to the right to turn off your device. Once it is off, press and hold the power button again until the Apple logo appears, indicating that your iPhone is restarting.
3. Toggle the Flashlight in Control Center
If your iPhone flashlight is not working, try toggling it on and off in the Control Center. Swipe down from the top-right corner of your screen (or swipe up from the bottom on older iPhone models) to access the Control Center. Locate the flashlight icon and tap it to turn it on. Wait a few seconds and tap it again to turn it off. Repeat this process a few times to see if the flashlight starts working.
4. Check for Camera Restrictions
Some iPhone users may have camera restrictions enabled, which can prevent the flashlight from functioning properly. To check if camera restrictions are enabled, go to Settings > Screen Time > Content & Privacy Restrictions > Allowed Apps. Ensure that the Camera app is allowed. If it is restricted, toggle the switch to enable it.
5. Clean the Camera Lens
Dirt, dust, or smudges on the camera lens can affect the performance of the flashlight. Use a microfiber cloth or a lens cleaning solution to gently clean the camera lens. Avoid using abrasive materials or excessive force, as this can damage the lens. After cleaning the lens, check if the flashlight is working properly.
6. Disable Low Power Mode
If your iPhone is in Low Power Mode, the flashlight may not work as it conserves battery life by reducing power to certain features. To disable Low Power Mode, go to Settings > Battery and toggle off the Low Power Mode option. Once disabled, check if the flashlight starts working.
7. Reset All Settings
If none of the previous methods have resolved the issue, you can try resetting all settings on your iPhone. This will not erase your data but will reset all settings to their default values. To reset all settings, go to Settings > General > Reset > Reset All Settings. Enter your passcode if prompted and confirm the reset. After the reset is complete, check if the flashlight is functioning properly.
8. Force Restart Your iPhone
If the flashlight is still not working, you can try force restarting your iPhone. The process varies depending on your iPhone model:
- For iPhone 8 or later: Quickly press and release the volume up button, then quickly press and release the volume down button. Finally, press and hold the side button until the Apple logo appears.
- For iPhone 7 or 7 Plus: Press and hold both the volume down button and the side button until the Apple logo appears.
- For iPhone 6s or earlier: Press and hold both the home button and the side (or top) button until the Apple logo appears.
9. Check for Hardware Damage
If the above methods have not resolved the issue, it is possible that there is a hardware problem with your iPhone. Inspect the flashlight and camera area for any visible damage or debris. If you notice any damage, it is recommended to take your iPhone to an authorized service center for further inspection and repair.
10. Restore Your iPhone
If all else fails, you can try restoring your iPhone to its factory settings. Before doing this, make sure to back up your data to avoid losing any important information. To restore your iPhone, connect it to a computer with iTunes or Finder, select your device, and choose the “Restore iPhone” option. Follow the on-screen instructions to complete the restoration process.
11. Contact Apple Support
If you have tried all the troubleshooting methods mentioned above and your iPhone flashlight is still not working, it is recommended to contact Apple Support for further assistance. They can provide personalized guidance and help you determine if your device needs to be repaired or replaced.
12. Consider Third-Party Flashlight Apps
If your iPhone flashlight is still not functioning, you can consider using third-party flashlight apps available on the App Store. These apps utilize the device’s camera flash to provide flashlight functionality. However, be cautious when downloading third-party apps and ensure they come from reputable sources to avoid potential security risks.
Follow These Methods, Fix the iPhone Flash Light
Experiencing a non-functioning iPhone flashlight can be frustrating, but there are several troubleshooting methods you can try to resolve the issue. Start by checking for software updates and restarting your iPhone. Toggle the flashlight in the Control Center and ensure camera restrictions are not enabled. Clean the camera lens, disable Low Power Mode, or reset all settings if necessary. If the problem persists, force restart your iPhone and inspect for hardware damage. Restoring your iPhone or contacting Apple Support are further options. Lastly, consider using third-party flashlight apps as an alternative. By following these methods, you can increase the chances of fixing your non-functioning iPhone flashlight and regain its usefulness in various situations.


