Welcome to the world of smart homes, where technology seamlessly integrates with our daily lives to make things easier and more convenient. One such innovation is the DIY smart doorbell with push notifications for Home Assistant. This article will guide you through the process of creating your own smart doorbell, complete with push notifications, using Home Assistant.
What is Home Assistant?
Home Assistant is an open-source platform that allows you to control and automate various smart devices in your home. It acts as a central hub, connecting different devices and services together, providing a unified interface for managing your smart home. With Home Assistant, you can create custom automations, monitor and control devices, and receive notifications based on specific events.
Why DIY?
Building your own smart doorbell has several advantages. Firstly, it allows you to customize the features and functionality according to your specific needs. You can choose the components, design the user interface, and integrate it seamlessly with your existing smart home setup. Secondly, it is a cost-effective solution compared to commercially available smart doorbells. By using off-the-shelf components and open-source software, you can save money without compromising on quality.
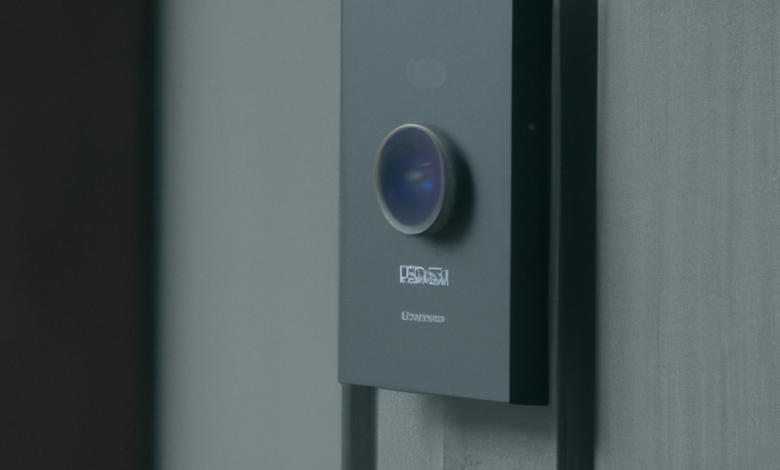
Components Needed
Before diving into the DIY process, let’s take a look at the components you will need:
- Raspberry Pi or similar single-board computer
- Camera module or USB webcam
- Push button or capacitive touch sensor
- Speaker or buzzer for audio notifications
- MicroSD card for storing the operating system
- Power supply and cables
Setting up Home Assistant
The first step is to set up Home Assistant on your Raspberry Pi or single-board computer. You can download the Home Assistant image from the official website and flash it onto the microSD card using a tool like Etcher. Once the image is flashed, insert the microSD card into the Raspberry Pi and power it up.
After the initial boot, you can access the Home Assistant interface by entering the IP address of your Raspberry Pi in a web browser. Follow the on-screen instructions to complete the setup process, including configuring your Wi-Fi network and creating an administrator account.
Connecting the Components
Now that Home Assistant is up and running, it’s time to connect the components of your smart doorbell. Connect the camera module or USB webcam to the Raspberry Pi, ensuring that it is recognized by the system. Next, connect the push button or capacitive touch sensor to the GPIO pins of the Raspberry Pi. Finally, connect the speaker or buzzer to the appropriate audio output of the Raspberry Pi.
Configuring Home Assistant
Once the hardware is connected, you need to configure Home Assistant to recognize and interact with the components. Home Assistant uses a configuration file called “configuration.yaml” to define the various devices and services in your smart home setup.
In the configuration file, you can specify the camera component to enable live streaming and recording. You can also define automations and scripts to handle events triggered by the push button, such as sending push notifications to your smartphone or playing a custom audio message through the speaker.
Testing and Fine-tuning
After configuring Home Assistant, it’s time to test your DIY smart doorbell. Press the push button and check if the camera captures a live video feed. Verify if the push notifications are sent to your smartphone and if the audio message plays through the speaker. Fine-tune the settings and automations as needed to achieve the desired functionality.
Benefits and Use Cases
Now that you have successfully created your DIY smart doorbell with push notifications for Home Assistant, let’s explore some of the benefits and use cases:
- Enhanced security: Receive instant notifications and live video feeds whenever someone rings the doorbell, allowing you to monitor and interact with visitors remotely.
- Convenience: Answer the door from anywhere in your home or even when you’re away, ensuring that you never miss an important delivery or visitor.
- Integration with other smart devices: Integrate your smart doorbell with other devices and services in your smart home setup, such as turning on the lights when someone approaches the door.
Conclusion
Creating a DIY smart doorbell with push notifications for Home Assistant is a fun and rewarding project that combines the power of technology with the convenience of a smart home. By following the steps outlined in this article, you can build your own customized smart doorbell that fits seamlessly into your existing smart home setup. Enjoy the benefits of enhanced security, convenience, and integration, all while saving money and having full control over your smart doorbell.